3D MODELLING TASK
For this task we were required to create a 3D modelled environment of our choice which tells some sort of narrative. The team I was on included myself, Rebecca McEwan, Kae Masterson and Lauren Meenagh. We began the project by brainstorming all of our ideas. We were open to all ideas and made a list of ones we liked, these included: a grocery store, an alien tomb, a chef's kitchen, and a medieval tavern. Once we narrowed it down, we found that the a simple grocery store stood out as this would allow us to be creative with the narrative we approached it with. We began to think of sci-fi movies and shows and we all seemed to like the futuristic setting. The animation 'Deuspi' got us thinking about how we could inject some excitement into the narrative; what if the store was being robbed? How would this work in a futuristic setting? We ended up deciding that a hovercar smashing through the store-front would tell an interesting story and we could play with a 'frozen-in-time' aspect which Gerard had suggested to us.
We took inspiration in regards to style from sci-fi movies and TV shows such as 'The Fifth Element', 'Blade Runner', 'Tron' and 'Maniac'. We sought advice from a past graduate who advised us to keep the scene's models relatively simple while focusing more on texturing and lighting. This would allow us to maintain a low-poly count while also looking aesthetically pleasing.
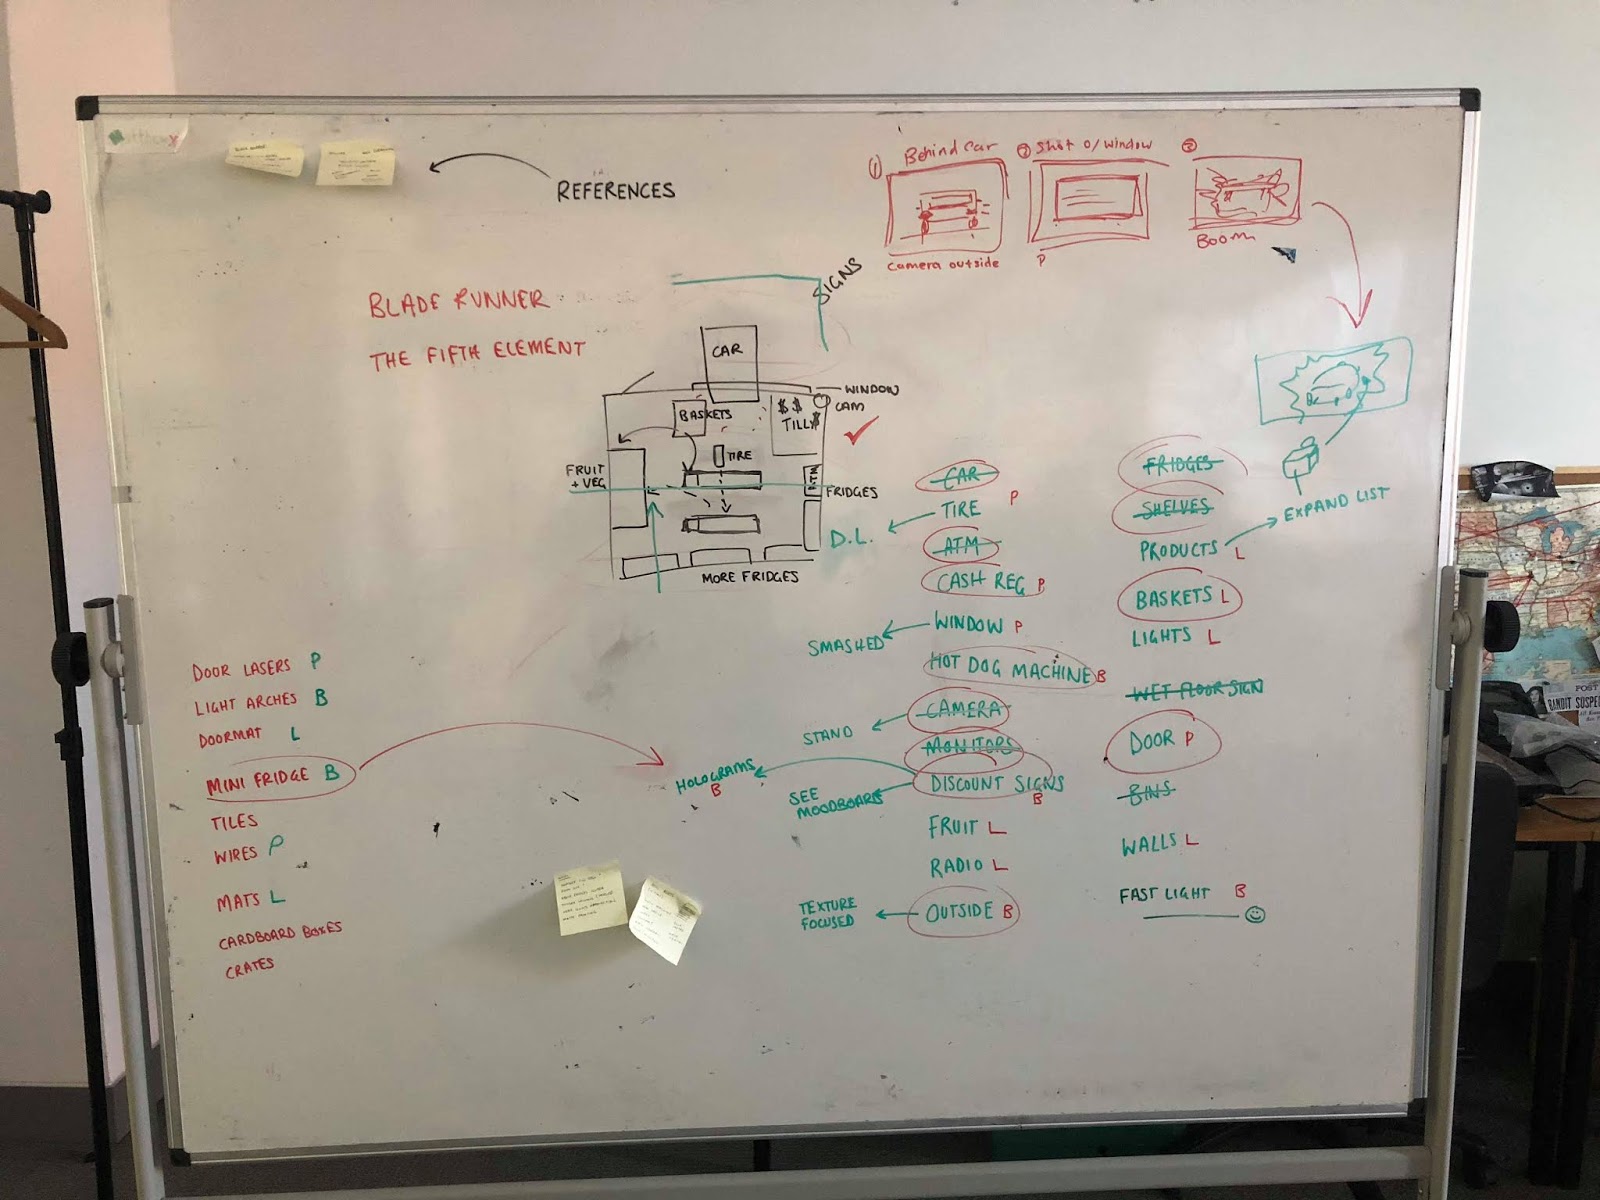
Moving onto the modelling stage, we made a draft of an asset list that we'd need. Including grocery store elements such as food, cash register, bins etc., we also wanted to incorporate futuristic elements such as holograms and a hovercar. We then created a mock model of the scene to decide upon camera angles and lighting tests. During a group meeting we thought of the idea to use a security camera as a camera to render through. This would allow us to be creative and add to the narrative of a store robbery caught on camera.
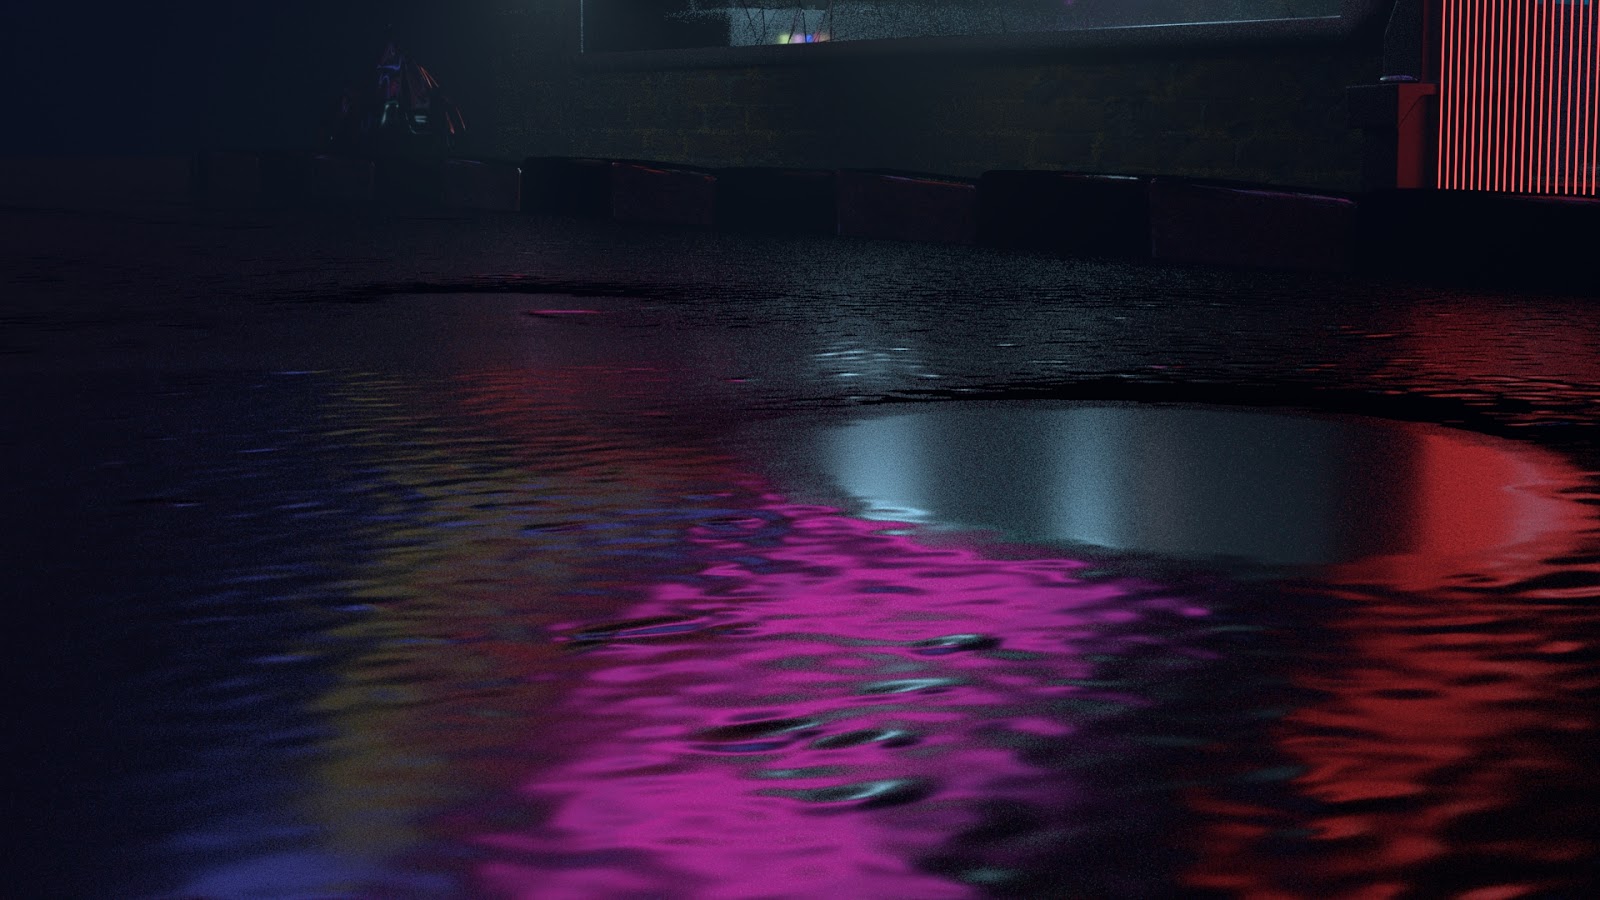
With regards to modelling, we made sure to keep the poly count low on our individual assets while also maintaining a sense of style. Although we had a style in mind at the beginning, it eventually evolved to be somewhat realistic in the end with regards to texturing. After UV mapping our models we began the texturing stage. We purchased a month;s subscription to Quixel in order to texture the larger, tileable models such as the flooring and walls of the shop as well as the exterior. Becca handled the texturing of this and created a wet concrete effect for the exterior which we all found to be really effective. With the futuristic neon lighting elements, the scene began to shine once we had assembled the base exterior and interior.
Once assembled, we began to render the scene and edit the lighting. We soon realised that our render time was quite extensive. However, with the help of our fellow classmate Hristo, we were able to shorten our render time immensely by targeting large, render-heavy aspects of the scene like the aiAtmosphere. Once we had the scene assembled we were all quite happy with the finished result.
Below are some images documenting each stage of the process.
Brainstorming
Concept Art


Research


 |
| Moodboard created by Becca |
 |
| Moodboard created by Becca |
Layout and Lighting tests


Interior Concept Art

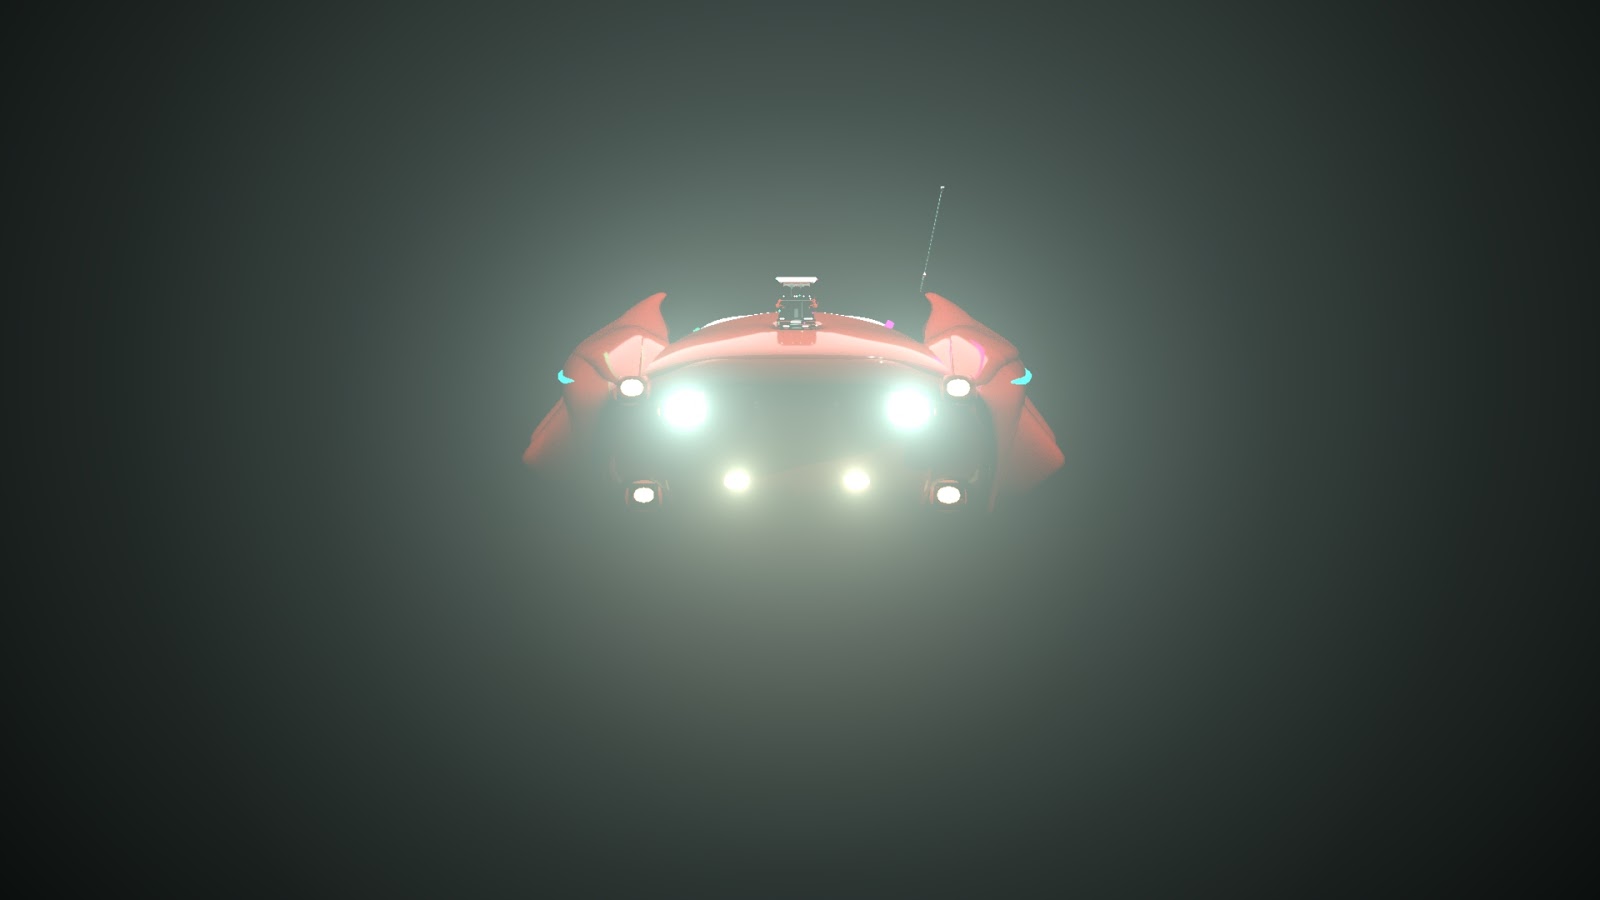
Car Modelling (Maya > ZBrush > Retopology)


Lighting Tests and Colour Schemes


Composing initial draft of the Scene

My Final Models


Rendered Images


Wireframe Versions


Comments
Post a Comment